Printing on untreated plastic wastes ink, plates and press time, because the ink beads up instead of wetting the surface. You can print on most plastic film and sheet once the surface wets well enough for the chosen ink, by raising surface energy with corona, flame or plasma or by applying a primer the ink accepts, and the adhesion is then confirmed on the real material.
Plastic film and sheet print well when three things match: the polymer’s surface, the ink system and the pretreatment. Untreated polyethylene and polypropylene average about 31.6 and 30.5 mJ/m² critical surface tension in literature data compiled by Diversified Enterprises, below the treatment levels that supplier’s guidance gives for most inks. Its published guidance puts solvent-based printing at 36–40 dynes/cm and water-based inks at 40–44, with some laminating and coating jobs at 50 or more. ASTM D2578 adds a caution: the relation between wetting and ink adhesion holds only through experience. So check how the material arrives, treat or prime it where needed, measure the surface, and test adhesion on the real material before you choose a press.
| Input or item | Typical value or source | Why it matters |
|---|---|---|
| Polymer | Your film or sheet data sheet | Sets the starting surface energy |
| Untreated critical surface tension | PE about 31.6, PP about 30.5, PET about 39 mJ/m² (literature averages, Diversified Enterprises) | Background comparison only; measure your own material |
| Ink system | Solvent, water-based or UV, from your ink supplier | Water-based and UV inks are harder to wet out |
| Target treatment level | Ink supplier’s figure; guidance 36–40 dynes/cm solvent, 40–44 water-based (Diversified Enterprises) | Starting point for your specification |
| Pretreatment | Corona, flame or plasma treatment, or a chemical primer | Treatments raise surface energy; primers improve ink acceptance; each has side effects |
| Wetting check | Dyne test (ASTM D2578 covers PE and PP film) or water contact angle (ASTM D5946 covers corona-treated polymer film); other surfaces need a confirmed method | Shows whether the surface reaching the press wets as intended |
| Adhesion check | Tape test on flexible packaging (ASTM F2252) | Wetting alone does not prove adhesion |
When evaluating an inkjet addition to an existing line, use the PROSPER Plus 5 substrate and drying checklist to identify the receiving face and downstream checks before a trial.
Can you print on plastic film and sheet?
Yes, most plastic film and sheet can be printed, provided the surface you actually receive suits the ink; some film arrives treated or primed, and much untreated plastic does not. Diversified Enterprises explains that plastics are built from non-polar long-chain molecules, so their surfaces carry little free energy; liquids fail to wet them, which shows up as poor coverage and adhesion. Polyolefins, vinyls, fluorocarbons and silicones are the hardest cases.
The usual fix is to raise surface energy above the surface tension of the ink, or to use a primer the ink accepts. KRÜSS lists plasma, flame and corona treatment and oxidising chemical processes as the common ways to do that for plastics. ASTM D2578 states the same link for polyethylene and polypropylene film: their ability to retain inks, coatings and adhesives depends mainly on the surface, and treatment improves it. Diversified also warns that some failures, such as delamination on the shelf or ink lift-off, appear only after the job has shipped.
Takeaway: Treat “can I print on it?” as “can I get its surface energy high enough for this ink?”, then test.
The 5-step film print check
Identify the substrate, match the ink system, choose the pretreatment, pick the print method, then verify wetting and adhesion; each step leaves one record, collected in the table below so you can hand it to an ink supplier or printer.
The 5-step film print check establishes traceable verification: identify substrate polymer and incoming surface energy, match the ink system surface tension demand, select surface pretreatment, choose the print method by web format and order volume, and verify ink adhesion under production curing conditions.
| Step | Record | Who confirms |
|---|---|---|
| 1. Substrate | Polymer, thickness, supplier treatment or primer, measured wetting with method and date | Film or sheet supplier; your lab |
| 2. Ink system | Solvent, water-based or UV; target treatment level | Ink supplier |
| 3. Pretreatment | Corona, flame, plasma or primer; settings used | Treater or primer supplier |
| 4. Print method | Format (roll or sheet), order quantity, artwork needs, candidate methods, open questions | Printer |
| 5. Verification | Wetting at the press, adhesion method and result, pass criteria | You and your customer |
Takeaway: Fill in the record step by step; a printer or ink supplier can only judge the job from these inputs.
Step 1 — Identify the substrate and its surface
Start with the exact polymer and whether it arrives treated, primed or coated. Untreated surface energy differs widely between plastics, and the table below shows published literature averages compiled by Diversified Enterprises, measured mostly by the Zisman method or the ASTM D2578 wetting tension method. Treated, primed or coated film will read differently, so measure what you actually have.
| Polymer (untreated) | Critical surface tension, mJ/m² | Water contact angle | What it suggests |
|---|---|---|---|
| Polypropylene (PP) | 30.5 | 102.1° | Needs treatment for most inks |
| Polyethylene (PE) | 31.6 | 96° | Needs treatment for most inks |
| Polystyrene (PS) | 34 | 87.4° | Usually needs treatment |
| Polymethyl methacrylate (PMMA, acrylic) | 37.5 | 70.9° | Check against the ink’s needs |
| Polyvinyl chloride (PVC) | 37.9 | 85.6° | Check against the ink’s needs |
| Polyethylene terephthalate (PET) | 39 | 72.5° | Often supplied primed or treated for print |
| Nylon 6 | 43.9 | 62.6° | Higher starting energy; still verify |
| Polycarbonate (PC) | 44 | 82° | Higher starting energy; still verify |
Values are averages from many literature sources and methods; mJ/m² is equivalent to dynes/cm. One supplier tip helps with polyester: Diversified notes that polyester film reading consistently below 42 dynes/cm is almost certainly print-primed, a chemical coating that lowers the reading slightly while making the surface accept a wider range of inks. To measure your own material, follow our dyne testing guide or a water contact angle measurement.
Takeaway: Record polymer, supplier treatment or primer, and a measured surface value before anything else.
Step 2 — Match the ink system to the surface
The ink system sets how high the surface energy must be. Diversified’s surface treatment discussion explains that water-based coatings and inks have higher surface tension than solvent-based ones and tolerate surface contaminants and additives less well, and that UV formulations generally share those traits. Its published guidance gives working ranges by ink type.
| Ink system | Treatment level in Diversified’s guidance | What to watch |
|---|---|---|
| Solvent-based | 36–40 dynes/cm for most printing | Solvent handling and drying |
| Water-based | 40–44 dynes/cm usually | Less tolerant of additives and contamination |
| UV and other energy-cured | Not given as a range; shares water-based traits per Diversified | Viscosity slows levelling; shrinkage during cure |
| Laminating and some coatings | 50 dynes/cm or more for some applications | Check the adhesive or coating supplier’s figure |
Diversified’s discussion also records that, when water-based and energy-cured systems spread, treatment levels of 34–38 dynes/cm that had worked before led to pinholes, fisheyes and ink lift-off, and that 40 dynes/cm and higher was needed at the press. For polyethylene specifically, ASTM D2578 Note 3 reports 35 dynes/cm or higher as generally acceptable for Type 1 polyethylene tubular film in commercial flexo, and no general level for polypropylene.
Common mistake: Taking a figure from a table as your specification. These are guidance values; your ink supplier’s recommendation for your film and press comes first.
Takeaway: Get the target treatment level from your ink supplier and write it next to the ink system on the job record.
Step 3 — Choose the pretreatment
Corona is the most common choice for film converters, flame dominates for moulded parts and is also used on film, plasma covers specialised needs, and chemical primers remain an option. Diversified explains that corona, flame and plasma raise wettability by adding oxygen-containing groups when run in the presence of oxygen; a primer instead adds a coating the ink accepts, and its effect is set by the primer supplier’s data. Each carries different side effects.
| Pretreatment | Where it is used | Strengths | Limits |
|---|---|---|---|
| Corona | Films and webs; most common for converters | Easy to install, adjustable for web width, cost-effective; bare-roll systems can “bump” treat just before printing | Decays with handling, heat and humidity; back-treatment causes blocking and poor heat-seal; ozone; raising by more than 10–12 dynes/cm at once is often inadvisable |
| Flame | Moulded parts mainly; also films, foils, coated board | No ozone, pinholing or back-treatment; can exceed 70 dynes/cm on polyolefins; decays much more slowly than corona | Slight haze; higher capital cost than corona |
| Plasma (low-pressure or atmospheric) | Batch parts; specialised webs; atmospheric plasma on webs | Specific, predictable surface functionalisation | Equipment and process complexity |
| Chemical primer | Films supplied primed; parts and sheet | Broadens ink acceptance | Adds a coating step and material |
All figures and assessments in the table come from Diversified Enterprises’ surface treatment discussion. Conductive webs need bare-roll corona systems, and static that builds up on treated film usually needs in-line neutralisation at the open span just before the defect. That location check is in removing static from plastic film. Our Surface Treatment section covers the treatment background.
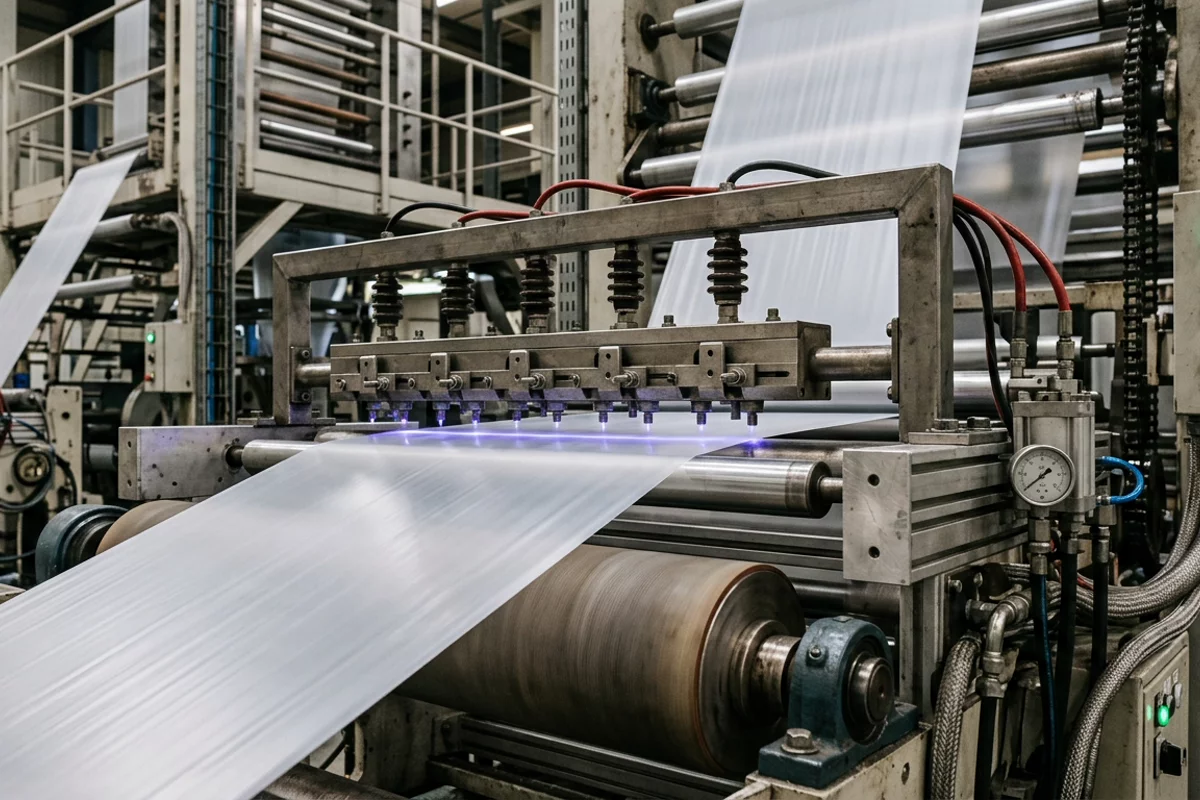
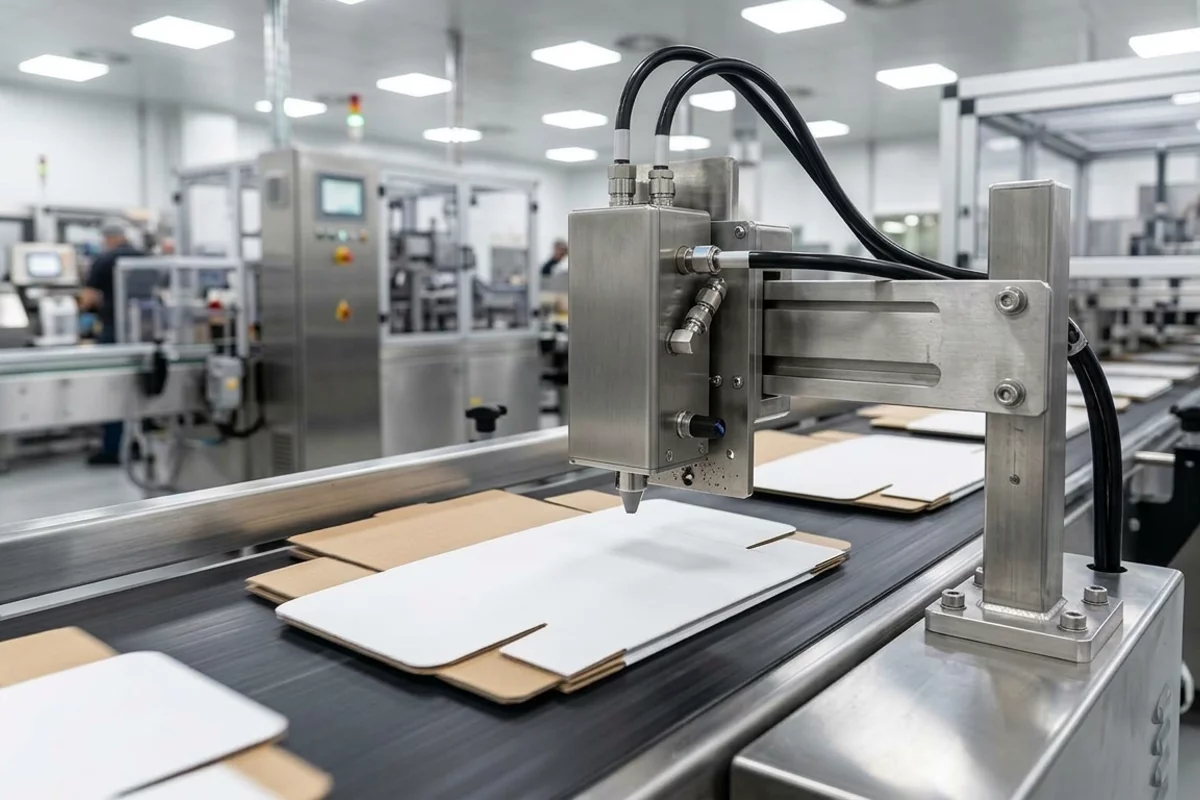
Illustrative photo — generated editorial image, not a specific equipment model or treatment specification.
Takeaway: Start with corona for most film webs; consider flame where decay or part shape rules corona out but haze is acceptable, plasma for specialised needs, and a primer when treatment alone is not enough.
Step 4 — Pick the print method
Narrow the method by format first, roll-fed film or sheet and parts, then by order quantity and artwork. The table describes the main methods in general terms and lists what to check on film; it does not rank them.
| Method | How it prints (general description) | Fits when | What to check on film |
|---|---|---|---|
| Flexography | Flexible relief plates transfer fluid ink to a moving web | Roll-fed film, long and medium runs, packaging | Treatment at the press, ink drying, plate costs |
| Gravure | Engraved cylinders transfer ink | Long runs and high image consistency on film | Cylinder costs; solvent or water-based ink fit |
| Screen printing | Ink pushed through a mesh stencil | Sheet, parts and heavy ink deposits | Ink formulated for the plastic; cure |
| Digital inkjet (including UV-curing) | Ink jetted without plates | Short runs, variable data, prototypes | Ink and primer compatibility; cure; adhesion |
| Thermal transfer | Heat transfers ink from a ribbon | Coding, dates, labels on film | Ribbon matched to the film; heat on thin film |
The decision sequence moves from surface physics to printing logistics: confirm surface energy exceeds ink threshold (treating or priming if needed), then narrow print method by roll or sheet format, run length, and artwork complexity before final adhesion testing.
Short-run digital pouches are a current example of the trade-offs: SunDance’s coffee valve pouch announcement shows how little a release says about film structure and print surface. In-line decoration such as metallic coatings applied during the print run raises the same adhesion questions.
Takeaway: Shortlist two methods by format and quantity, then ask each printer how they check wetting and adhesion on your material.
Step 5 — Verify wetting and adhesion before the run
Measure wetting on the material you will actually print, as close to the press as you can, then test adhesion with the real ink. Wetting is a screening check; an adhesion test shows whether the print held under the agreed method, cure and criteria. ASTM D2578 and D5946 both say their wetting results are not a complete measure of adhesion.
| Check | Method | What it tells you | Record |
|---|---|---|---|
| Wetting at the press | Dyne test (ASTM D2578, PE and PP film) or water contact angle (ASTM D5946, corona-treated film); for other surfaces, a method confirmed with your supplier or lab | Whether treatment reached the print station | Reading, method, position across web, time since treatment |
| Treatment decay | Compare readings at unwind and at the print station | How much treatment is lost in handling | Both readings and the gap |
| Ink adhesion on flexible packaging | Tape test per ASTM F2252 | Whether the cured ink stays on | Tape, method, result, agreed pass criteria |
| Ink adhesion on rigid sheet | Agreed method with your customer | Whether the print stays on sheet | Method and result |
ASTM F2252 covers ink and coating adhesion on flexible packaging materials whose surfaces are not damaged by the tape, and leaves pass criteria to the user and producer. ASTM D3359, the familiar cross-cut tape test, was developed for coatings on metal; its own note says precision data for plastics is lacking, so agree the method with your customer before using it on plastic sheet. Diversified’s usage notes recommend testing as close to the print station as possible, and report that a virtually immediate loss of 10 dynes/cm after corona treatment is possible.
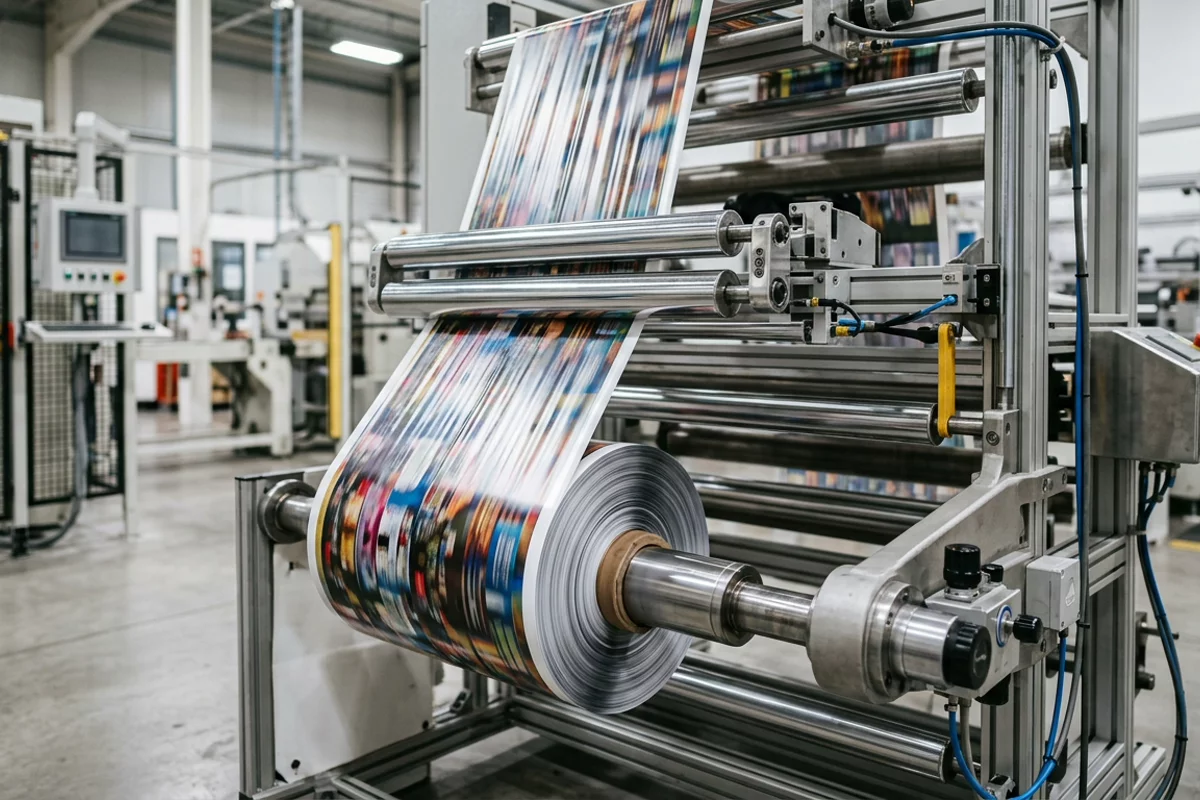
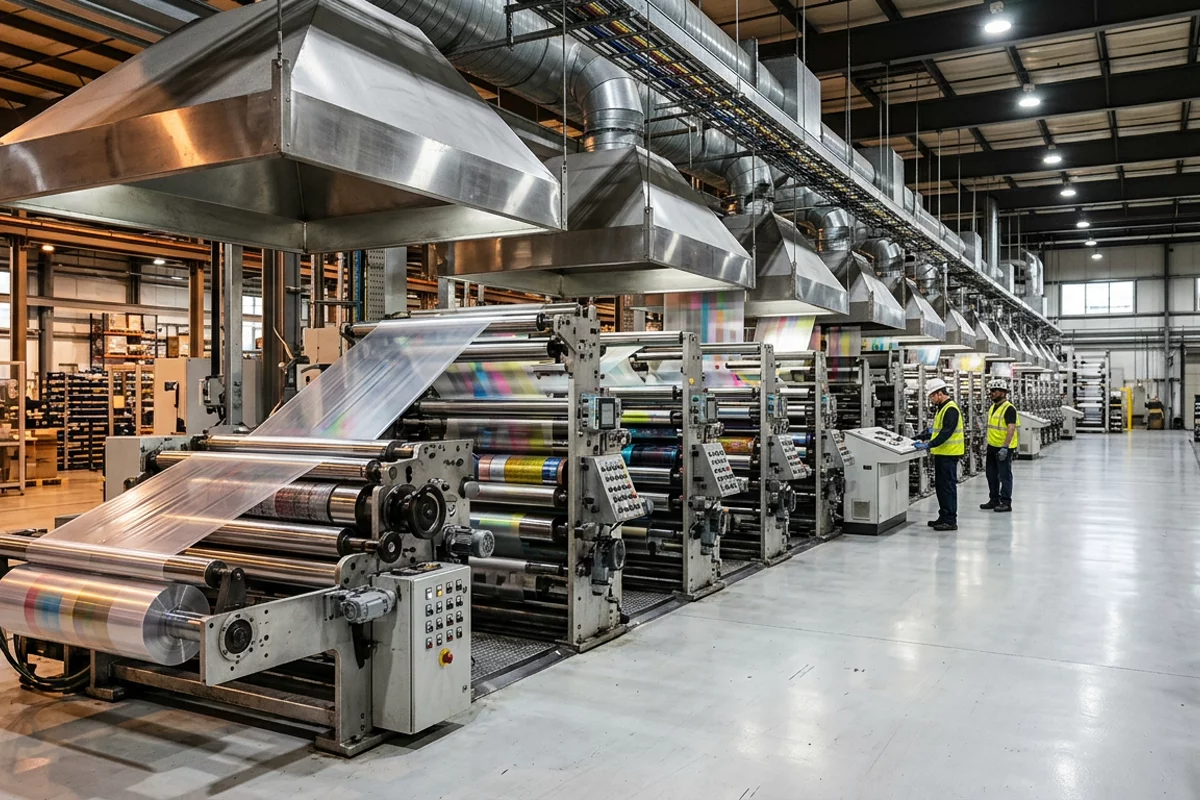
Illustrative photo — generated editorial image, not a test record or print run warranty.
For details, see how to read a dyne result and act on it, and how water contact angle and surface energy are measured.
Common mistake: Releasing a job because the dyne reading passed. Wetting is necessary, not sufficient; run the adhesion test with the production ink and cure.
Takeaway: Sign off a job only on a passed wetting check at the press and a passed adhesion test with the real ink.
Common print defects on film and what to check
Several common film print defects can involve surface treatment. The first three defects and the treatment-related checks come from Diversified’s discussion and usage notes; the cure and ink-chemistry checks are our suggestions to confirm with your ink supplier. Treat the table as candidate checks, not a diagnosis or a fixed order.
| Defect | First thing to check | Then |
|---|---|---|
| Ink beads or crawls | Treatment level at the press | Treatment decay; additive bloom |
| Pinholes or fisheyes | Treatment level against the ink system | Contamination; overtreatment |
| Ink lifts off on tape | Adhesion test and cure | Ink chemistry for this polymer; primer |
| Blocking or poor heat-seal | Back-treatment on the reverse side | Treater set-up |
| Uneven print across the web | Treatment readings across the width | Electrode alignment |
| Haze after treatment | Treatment method | Flame haze on optical films |
Film print defect troubleshooting links specific visual symptoms to immediate line checks: ink beading indicates low treatment at press; pinholes indicate contamination or overtreatment; ink flaking signals poor cure or resin mismatch; blocking indicates reverse-side back-treatment.
Coatings bring the same questions to paper and board, as in BASF’s reduced-carbon coating binders and Kelpi’s coated paper sachet, though dyne fluids read unreliably on absorbent paper.
Takeaway: Record the treatment readings alongside every defect, and confirm cure and ink questions with your ink supplier.
When this does not apply
This guide covers printing on plastic film and flat sheet with industrial and short-run print processes. It does not apply in these cases:
- 3D printing and desktop printers. Neither is covered; use the film maker’s stated printer compatibility.
- Laser engraving and marking. These change the surface rather than printing on it.
- Process settings. No treater power, line speed or cure settings are given; ask your treater and ink suppliers.
- Food-contact and migration questions. Ink and coating compliance is a separate assessment.
- Ranking presses. The method table describes fit, not a winner.
More topics are in Films and Printing.
Takeaway: Use this guide to frame the decision, and confirm settings and compliance with your suppliers.
How we checked this
We compiled this guide on 7 October 2026 from Diversified Enterprises’ published surface treatment discussion, polymer surface energy table, test procedure and usage notes; ASTM’s public abstract pages for D2578-23, D5946-24, F2252/F2252M-25 and D3359-23; and KRÜSS’s surface free energy glossary. Diversified Enterprises and KRÜSS sell testing products. Print method descriptions are general and unranked. We did not print or test samples for this article, and we name no equipment models or prices. See About for how this site works.
Takeaway: Check the current standard editions and your suppliers’ data sheets before using these figures in a specification.
Last updated 7 October 2026 (first published).